Creating a single-signature (singlesig) wallet
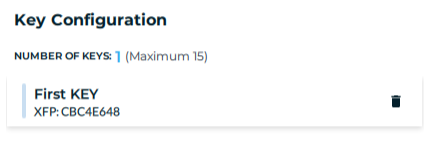
You should have at least one key in your account.
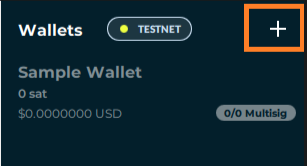
- Click the + symbol next to “Wallets” to add a key.
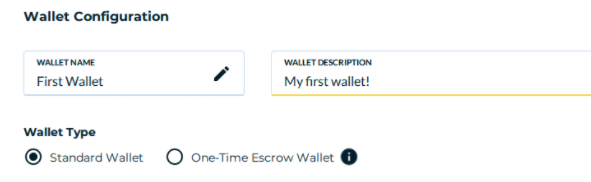
- Name your wallet, give it a description (optional), and then proceed to the next screen.
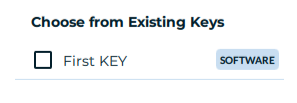
- Click the checkbox of the keys you want to associate with your wallet.
- Assign the key(s) you selected to the wallet by clicking the “Assign To Wallet” button. You should see the key(s) listed on the right side now under “Key Configuration”

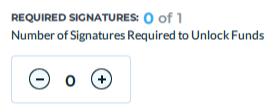
- Add the number of signatures (keys) required to sign/send a transaction. You can only require as many keys that you have associated with the wallet.
- Proceed to the next screen by clicking “Next: Review Wallet” and confirm the details of the wallet. Finalize your wallet by clicking the “Create Wallet” button.

You will be prompted to back up your wallet by creating a BSMS (Bitcoin Secure Multisig Setup) File. Even if you only create a single-sig wallet (the wallet has only one key), this is a highly recommended step as there are many ways to create a wallet from a single seed. You can read more about that here .
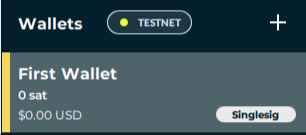
- Proceed past the backup screen. You should now see your new wallet in the “Wallets” section of the app.